I had been searching all over the place for a stylish, unique branded bag option for my photography business. There were definitely a lot of options out there, but at the time my business was not big enough to order large quantity of bags in all sizes that I needed. The set up cost to have my logo imprinted on different size bags would have been just too much for my start up business, so I decided to look for other alternatives.
I came up with this method to do myself in small batches and I really love the results. Not to mention the flexibility for me to use this method as needed on my various marketing products as well.
I use this method now on my tote bags and on my welcome packets and so far I still find it manageable because I am not a high-volume photographer. If you need large quantity of product embossed, I would definitely recommend outsourcing it to a professional packaging company.
You can find all the tools I used in this video on my Amazon Storefront by clicking here or the images below.
TOOLS YOU’LL NEED to create custom logo bags
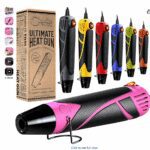
1/ Embossing heat gun : Watch out as this gun gets really hot. The paper may warp a little, but as it cools down the paper will flatten out. This specific heat gun has 2 levels, so for more delicate materials, you can use the luke warm setting.
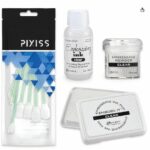
2/ Embossing powder: They come in many colors and it’s fun the experiment with different options on different color background. I used clear for this.
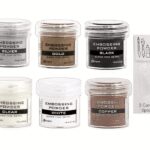
or here is a fun Powder bundle with the Clear ( the one I used), Silver, Copper, Gold and Black
3/ Embossing pad – This is the glue that you stamp on the paper, so the embossing powder sticks on your subject. I like this Large Size for my logo stamp.
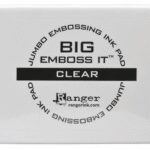
Here is a great embossing kit that will have the clear powder, ink pad and stamp cleaner:
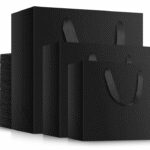
4/ I used this matte Euro tote bag below:
5 / The stamp was custom made with my logo. Etsy has a lot of vendors that can create it for you. Just put in the search: custom rubber stamp.
6/ OPTIONAL :
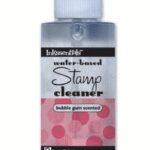
Stamp cleaner: Your logo rubber stamp is a big investment and you want to make sure it lasts. So at the end of an embossing session I always clean it off before putting it away. Also, make sure you store the rubber part of your stamp protected, flat so the stamp and keeping it even.
Tray: I’ve found this tray helpful keeping my work environment mess (glitter) free by pouring the leftover powder back into the container
Please note, I have only tried this method on paper so far. The smoother the paper, the better the result. The heat gun produces a lot of heat, so I am not sure how different materials would be effected. If you try this method on other materials let us know how it worked for you.
Do you have additional questions about how to create your own custom logo bags? Contact me here